The Fold over Beanie Free Crochet Pattern
This fold over beanie is a free crochet pattern that is super stunning. It is a beginner-friendly crochet pattern that looks complex but is easy to follow and consists of only single and half double crochets!
This is one of those crochet hat patterns that you can crochet while watching your favorite shows and movies.
Sign me up for crochet and chill all day long! To be honest, typing fold over so much today has made me crave one from Mc D’s… haha
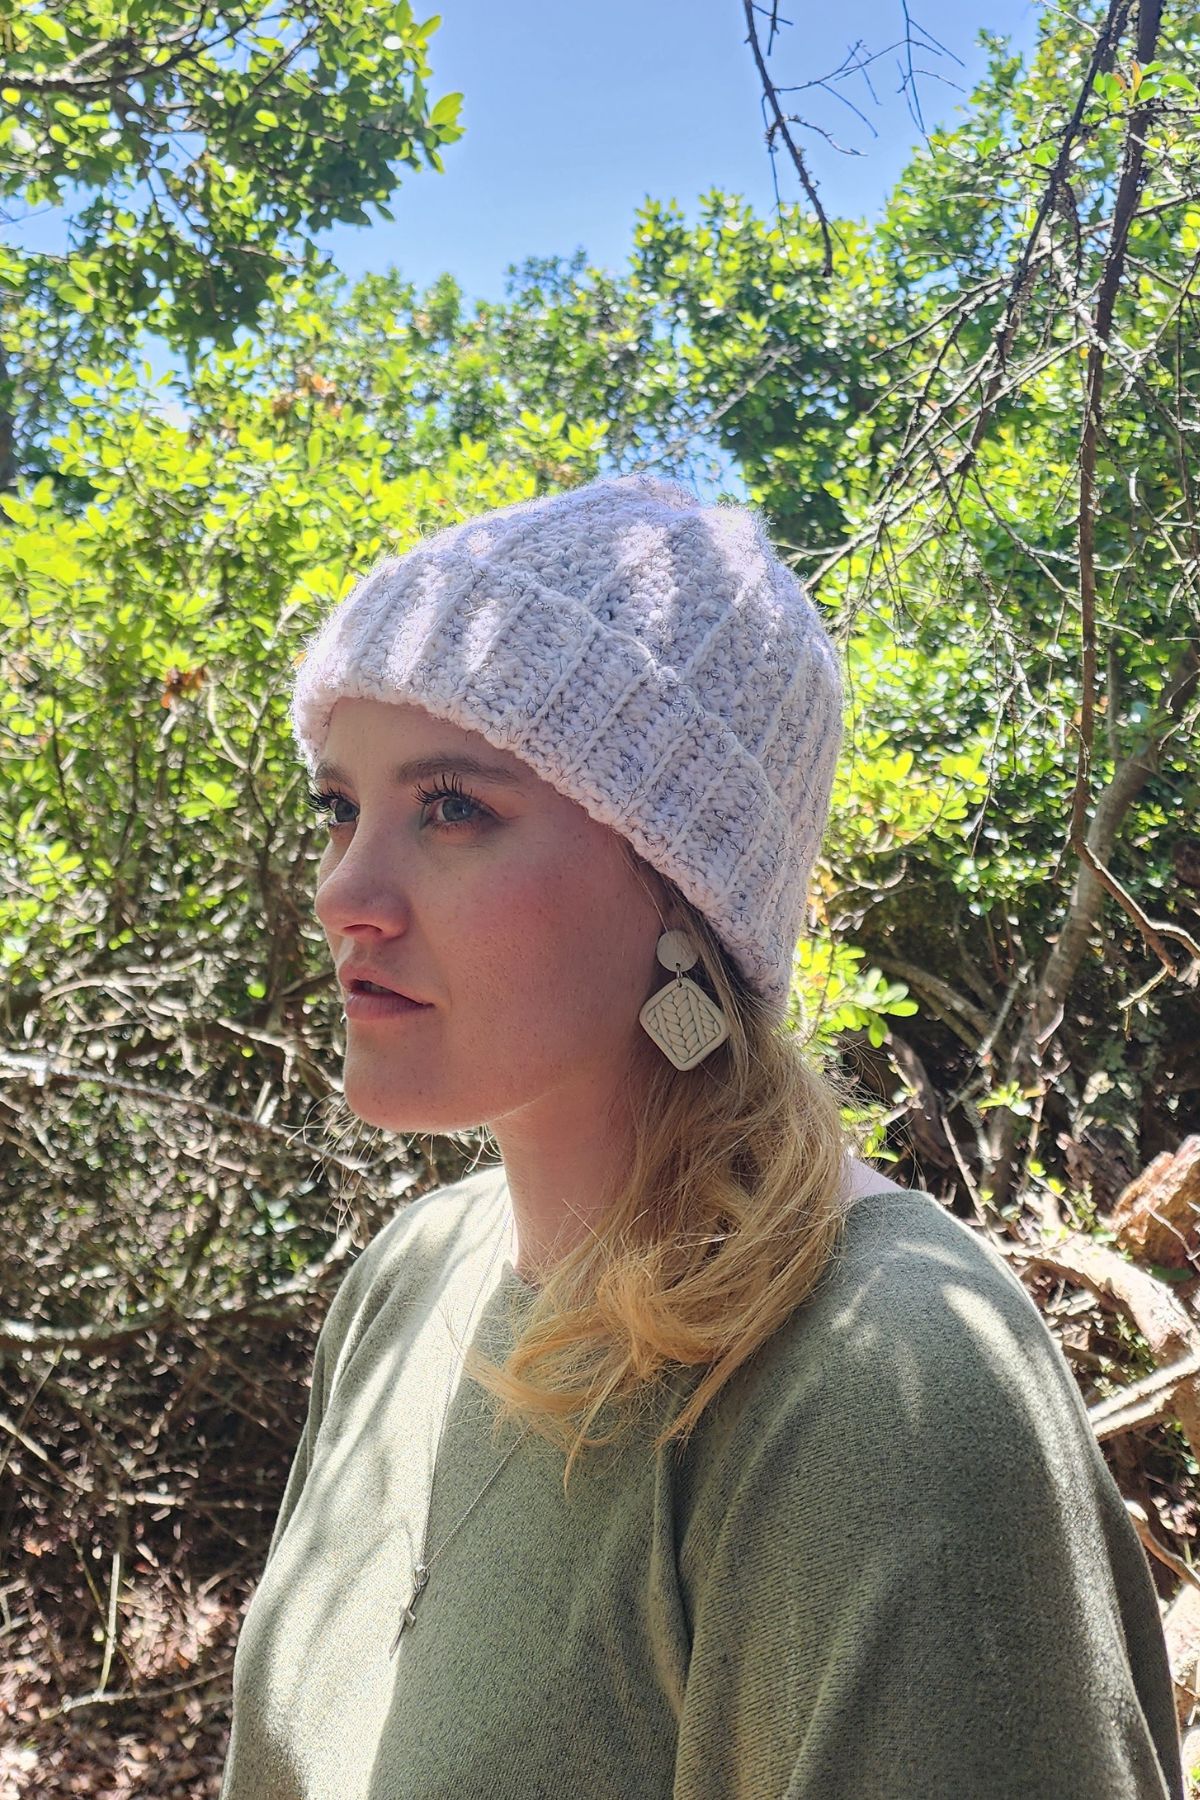
I just love the “lace” style this pattern turned out with. But let’s let the photo’s speak for themselves!
If you like free beanie crochet patterns, you’ll love my messy bun beanie and also the quick and easy beginners crochet beanie.

The details of the beanie pattern
Before you start with this crochet beanie pattern, here are some important things to know and some background around this pattern.

The Style of the beanie
The fold over beanie crochet pattern consists of only sc and hdc! I know, it looks way more intricate then that. But combining a few chain ones, single crochet and half double crochet, we get this beautiful “lace” type fabric.
Unlike my easy crochet beanie pattern that is crocheted from the top down, you will crochet a flat panel and then sew up the sides and top of your beanie. Then you will, you guessed it, fold the bottom of the beanie up to form the brim of the beanie.
How to Assemble the fold over beanie
Here are some quick pics to show you how to assemble your beanie.
- Complete your beanie panel by following the crochet pattern below.
- Turn the beanie so the right side is facing you.

- Match the first and last rows together and secure with a stitch marker on both ends.

- Sew the seam from bottom to top, using the mattress stitch.

- When you reach the top, weave along the top edge of your hat to close the circle.

- Fasten off and weave in all loose ends.
- Turn the beanie inside out and fold the brim.
- You can also fasten the brim to the body of the beanie if you prefer.

While your here :), be sure to have a look at some of my other free crochet patterns like:


FAQ about this easy beanie pattern
Yes it can! This beanie is made to fit the average female head size, but you can adjust the size by measuring your head size and then crochet a panel that is wide enough to fit your measurements. Keep in mind that this is a stretchy beanie and it does have about 2 inches of stretch.
This pattern calls for a #4 worsted weight yarn. I used the brand Kismet Lollipop Chunky, which is local in South Africa. If you reside in the US you can go for any #4 worsted weight yarn you prefer like Red Heart Soft Yarn or Caron Simply Soft.
I used a 5.5mm hook (US I/9) to crochet this beanie pattern. You will need to make a gauge swatch to see if you reach the gauge.
To make a swatch, use the yarn and hook size that is called for by the pattern. Then crochet a block that is slightly bigger than 4 inches x 4 inches. After you’ve made a big enough swatch, measure the amount of stitches and rows you get between 4 inches. If you have too many stitches between 4 inches, go up a hook size. If you have too many rows, go down a hook size.
Let’s get started!
Remember to follow me on Facebook and Instagram and share your creations with me on all my social platforms. Also pin this on your Pinterest boards if you want to make it again. And also remember to subscribe to my YouTube Channel for easy Crochet Tutorials and also easy to follow videos on my free crochet patterns!
Happy Crocheting!!! 🙂

Did you crochet this pattern? Be sure to leave a comment down below!

Fold Over Beanie Crochet Pattern
About the Pattern
- This pattern is crocheted flat and connected at the end with a tapestry needle.
- Chain 1 turning chain, does not count as a stitch.
- Chain 2 turning chain does count as a stitch.
- Amount of stitches are shown between brackets at the end of each row.
- When pattern calls for [] it states to place the stitches between the parentheses into the same stitch.
- If you’d like to make the beanie wider – you can crochet more rows to make it bigger and less rows to make it smaller.
- If you’d like to make your beanie longer – you can crochet in multiples of 6 + 3 until it is as long as you need it to be.
Tools and Materials
- #4 Worsted weight yarn. 100g/ 3.5oz 170m/ 185yards (You will need a bit more than the required amount of you want to add a pom pom of the same color and yarn.)
- Size 5.5mm Hook US I/9
- Measuring tape
- Stitch Markers
- Tapestry Needle
- Scissors
Instructions
- Foundation Chain: Multiples of 6 + 3
- Foundation row: Chain 56
- R1 (RS): 1hdc in 2nd ch from hook, 1hdc in nxt 11sts. Place marker in 12th st (This will be the brim of the hat). 1hdc in nxt 2sts, ch1, 1hdc in following st, * sk 1 st, 1hdc, ch1, 1hdc; rep from * until end of row. Ending in 1hdc in last st, ch2, turn. (12 brim hdc, 30hdc)
- R2 (WS): Mark top of ch2 with marker, * sk 2 sts, (1hdc, ch1, 1hdc) in nxt ch1-sp; rep from * until you reach 2 sts before marker. Sk 1 st, 1hdc in nxt st. 1hdc in BLO of nxt 12sts (Take care to place the marker back in the 1st st), ch1, turn. (30hdc, 12 brim hdc)
- After row 2 measure your work before proceeding. Your rows should measure 12” / 31cm across. If your work is smaller, start over and use a larger hook. If your work is too large, start over and use a smaller hook.
- R3 (RS): 1hdc in BLO of nxt 12 sts (remember to place marker in 12th st), 1hdc in all hdc of prev row skipping all the ch1-spces, ch1, turn. (12 brim hdc, 30hdc)
- R4 (WS): 1sc in 3rd loop of hdc (F.O.W) in each st until you reach st marker, 1sc in BLO of nxt 12sts, ch1, turn. (30hdc in 3rd loop, 12 sc in BLO)
- R5 (RS): 1hdc in BLO of nxt 12 sts (remember to place marker in 12th st), 1hdc in nxt st (through both loops), *(1hdc,ch1,1hdc) in nxt st, sk 1 st; rep frm * until 2 sts rem, sk 1 st, 1hdc in last st, ch2, turn. (12 brim hdc, 30hdc)
- Rep Row 2 – 5 until your work measures 18”/46cm unstretched or row 61, to fit the average size female head.
- Finish off your yarn and leave a long tail (about 20”/50cm) for sewing.
- Assembly
- To finish sewing your beanie weave your long tail through you tapestry needle:
- Turn the beanie so the right side is facing you.
- Match the first and last rows together (right sides facing each other, wrong side facing you) and secure with a stitch marker on both ends.
- Sew the seam from bottom to top, using the mattress stitch.
- When you reach the top, weave along the top edge of your hat to close the circle.
- Fasten off and weave in all loose ends.
- Turn your beanie inside out and fold the brim.
- You can also fasten the brim to the body of the beanie if you prefer.
- Sew on a pom pom if desired.
The gauge swatch is confusing, sorry. Where do we see how many stitches we should have in a 4×4 inch square?
Hi Sydney. For this beanie we don’t crochet a 4×4 square to obtain the gauge. To obtain the gauge you will crochet the first 2 rows of the pattern. After row 2 measure your work before proceeding. Your rows should measure 12inches / 31cm across from end to end.
If your work measures smaller, start over and use a larger hook.
If your work measures too large, start over and use a smaller hook.
it was a bit of a pain to close the top, but otherwise this was an easy pattern. I did more of a whip stitch to close rather than a mattress stitch. it seemed to look better on the yarn i used
Thanks so much for sharing and for your great review Tara!